
GitHub Pages Exercise
(Week 2, Thursday 9/6)
As discussed in lecture, GitHub provides the ability to publish a basic website from a repository. In this exercise, you’ll learn how to create a website associated with your GitHub username, as well as how to create one associated with a specific project/repository.
Do NOT start this exercise until you have successfully completed the exercise from Tuesday.
Due: Sunday, September 9 at noon
Part 1: Creating a Personal GitHub Site
(If you already have a personal github site, you can skip this.)
If you have a repository named username.github.io in your GitHub account, it will automatically be used to serve web pages from that address. (You can see an example at https://github.com/mamamusings/mamamusings.github.io and http://mamamusings.github.io (the resulting website).
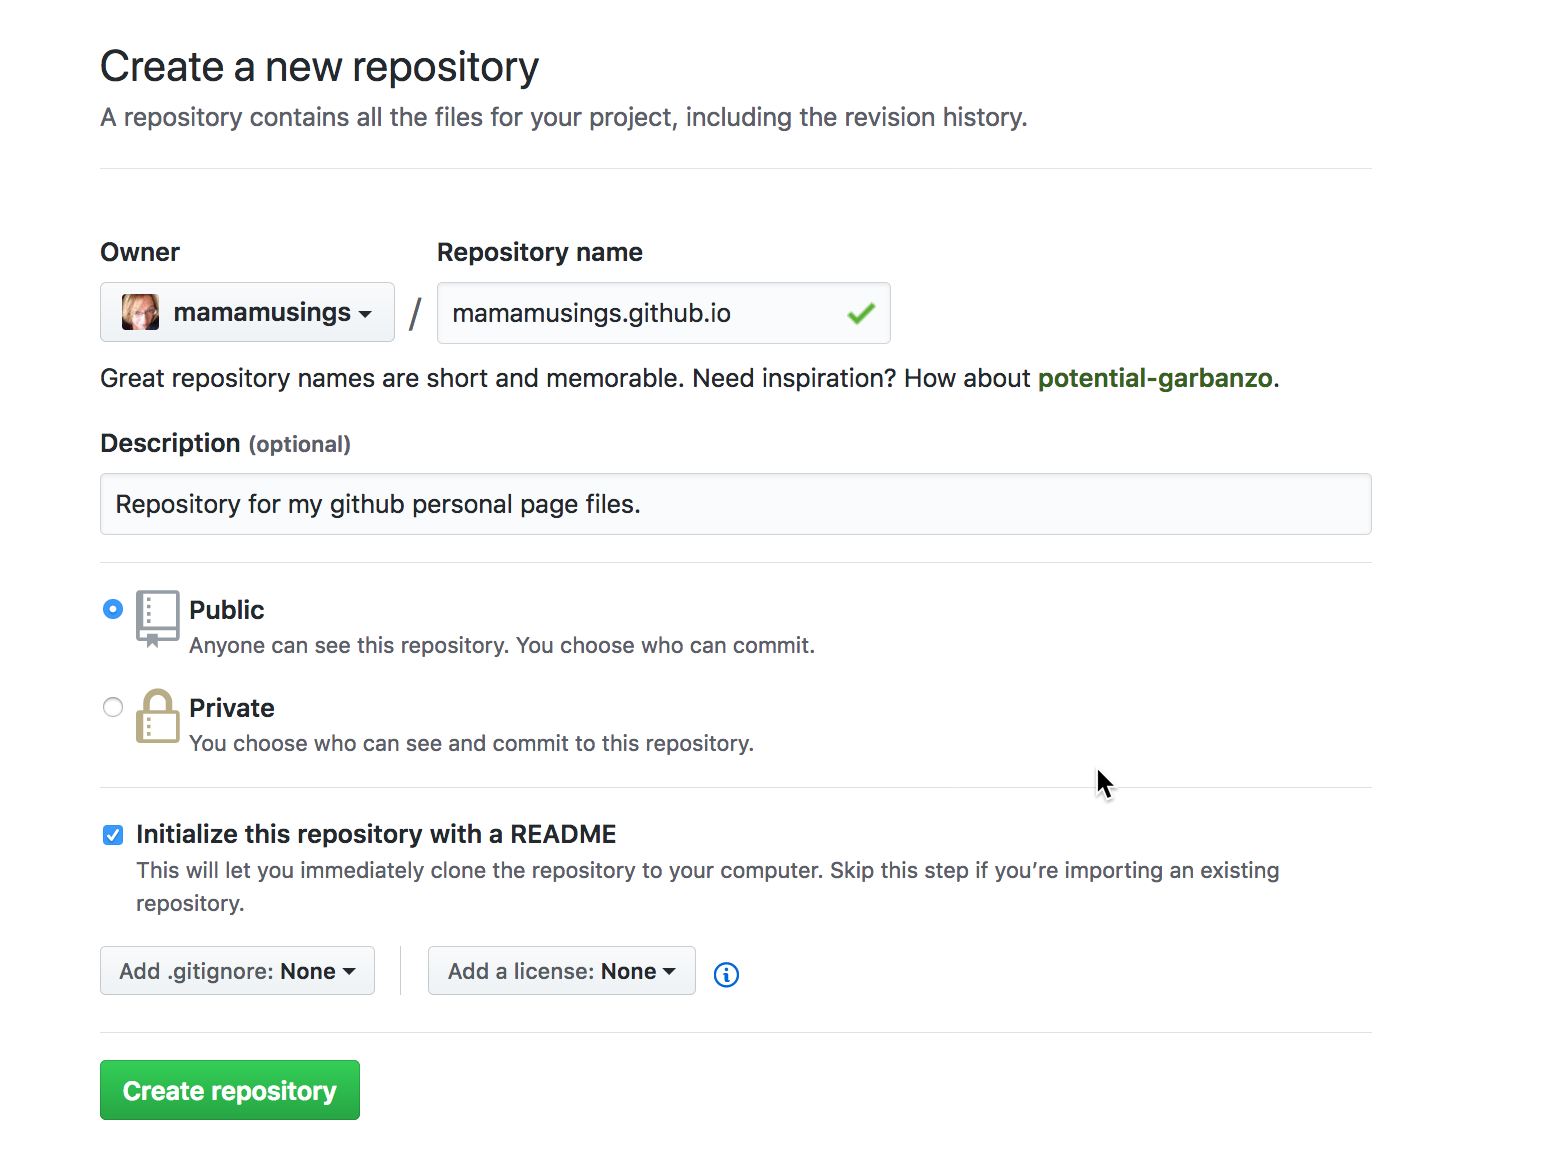
In your GitHub account, create a new (public) repository called username.github.io .
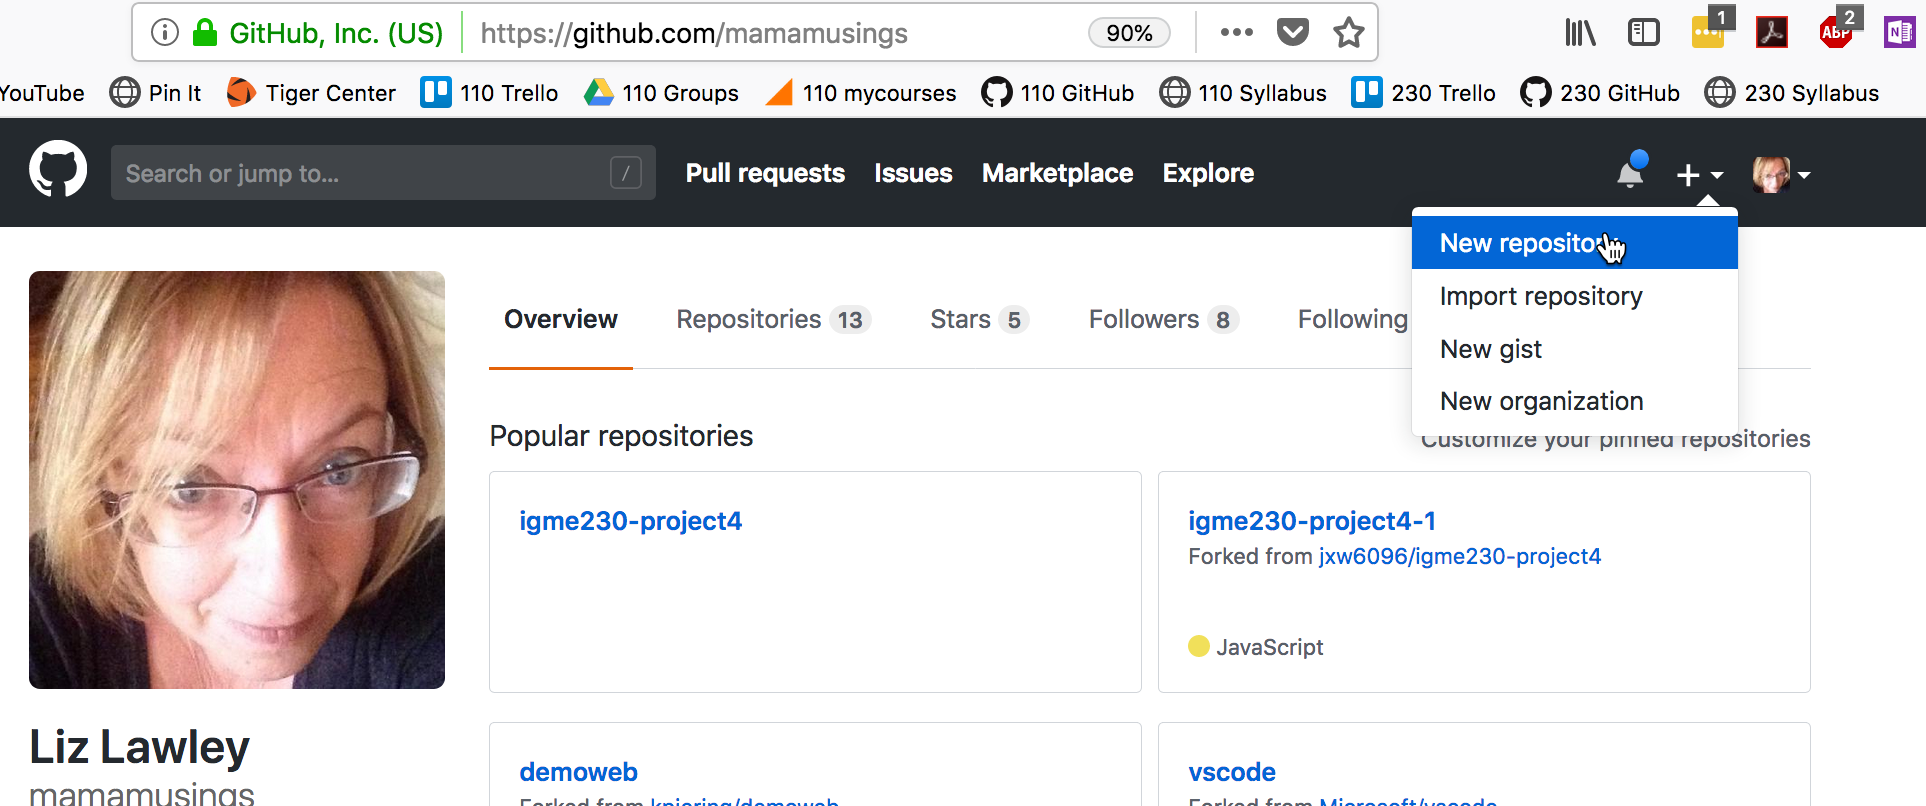
Add a brief description, make sure the repository is public, and click the box to create a README.md file.
You'll be taken to the web page for the new repository,which should look a lot like this:
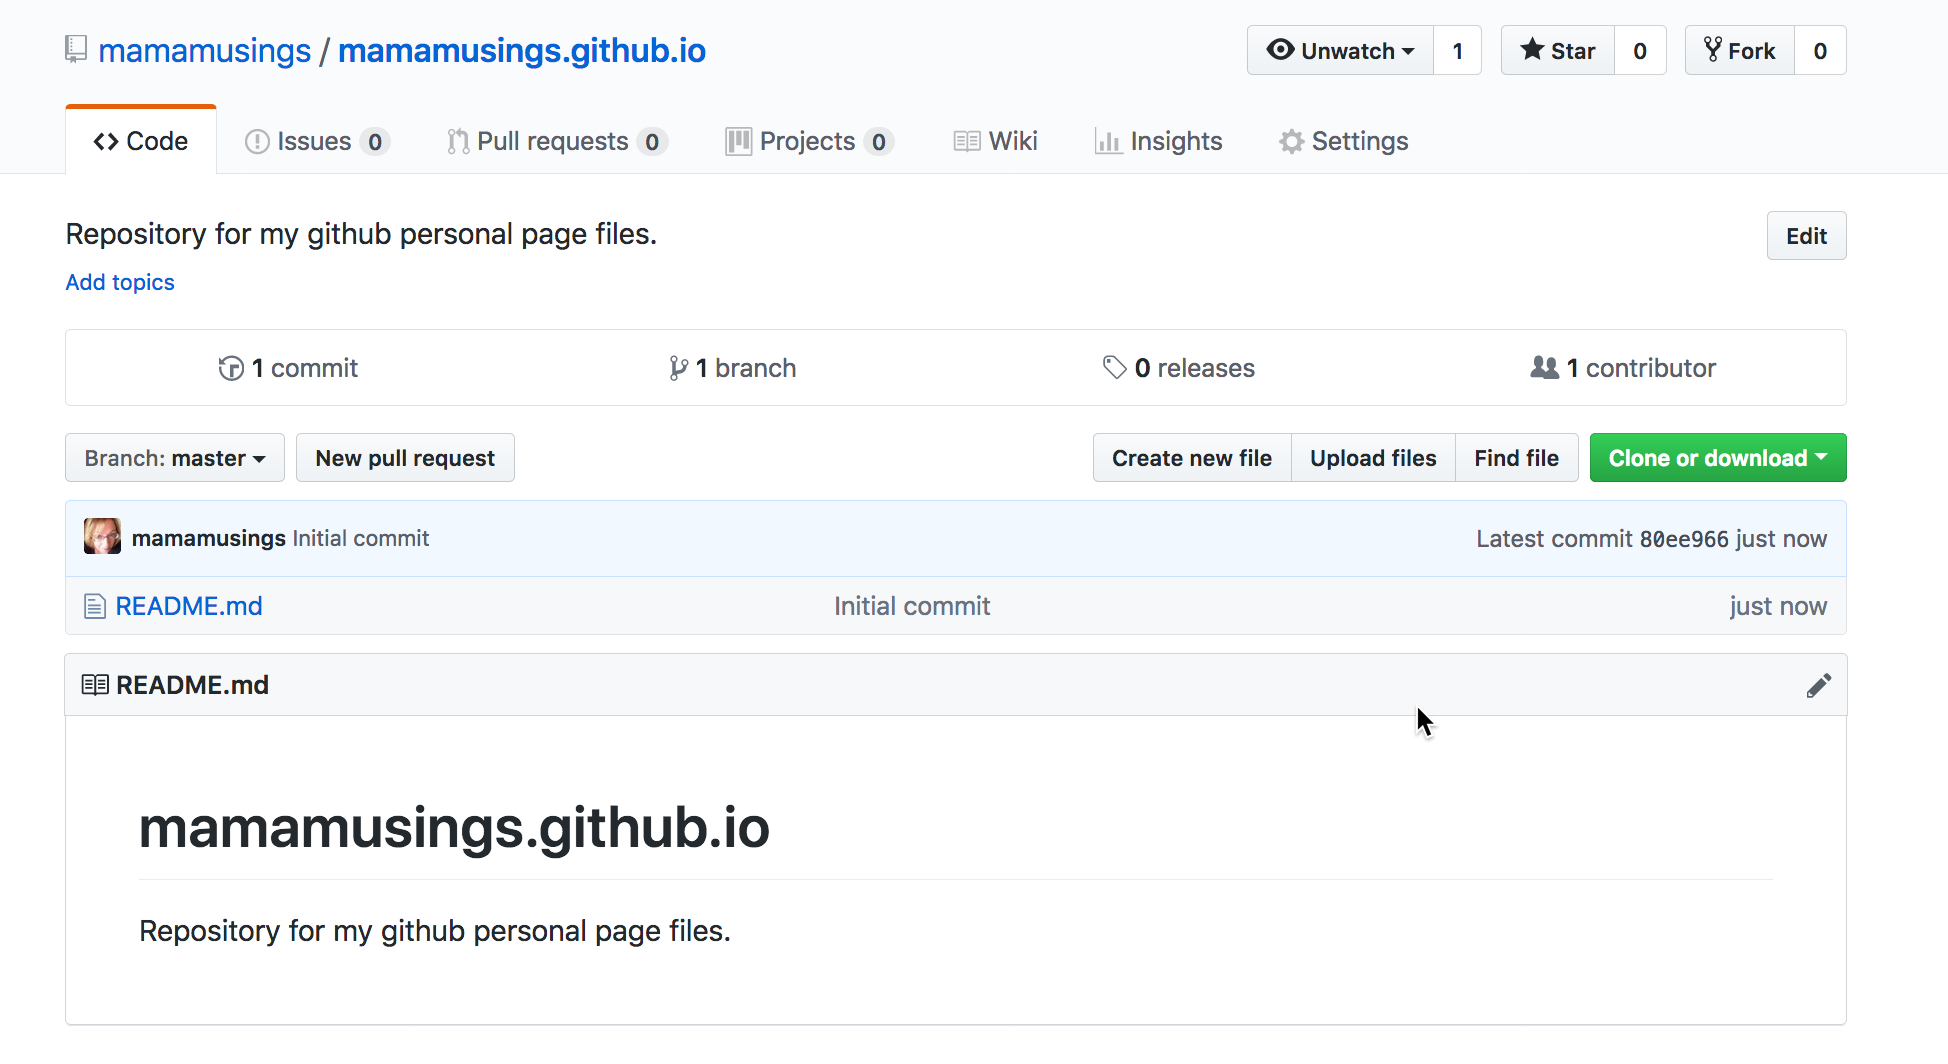
In your browser, go to username.github.io; you should see the readme page come up. If it doesn't work, ask for help before proceeding!!
Now you need to clone the new repository to your computer (using the same process you used in Tuesday's exercise--copy the clone URL from the GitHub repository, and use the git clone option in your editor.
Once you've cloned the repo, and you have it open in your editor, create an index.html file that includes your name and an image. Use CSS to make it look moderately professional. Commit the new file, and sync your files to GitHub. Then use a web browser to go to username.github.io. -- your files should show up there!
If you don't see your file there, ask for help before proceeding!!
Once this exercise has been graded, you can feel free to delete the repo or to use it for your own purposes.
Part 2: Creating a Project-Based GitHub Site
You’ll be publishing all of your work for this class using GitHub pages, and creating a "landing page" so that it's easy for the professor and TA to quickly access your exercises and projects.
While you could just created a subdirectory in your personal site directory, a better approach is to create a separate repository for your igme230 work. (That allows you to give other people access to a specific repository without having to give them access to your personal web files.)
Create another new repository called igme230 in your account.
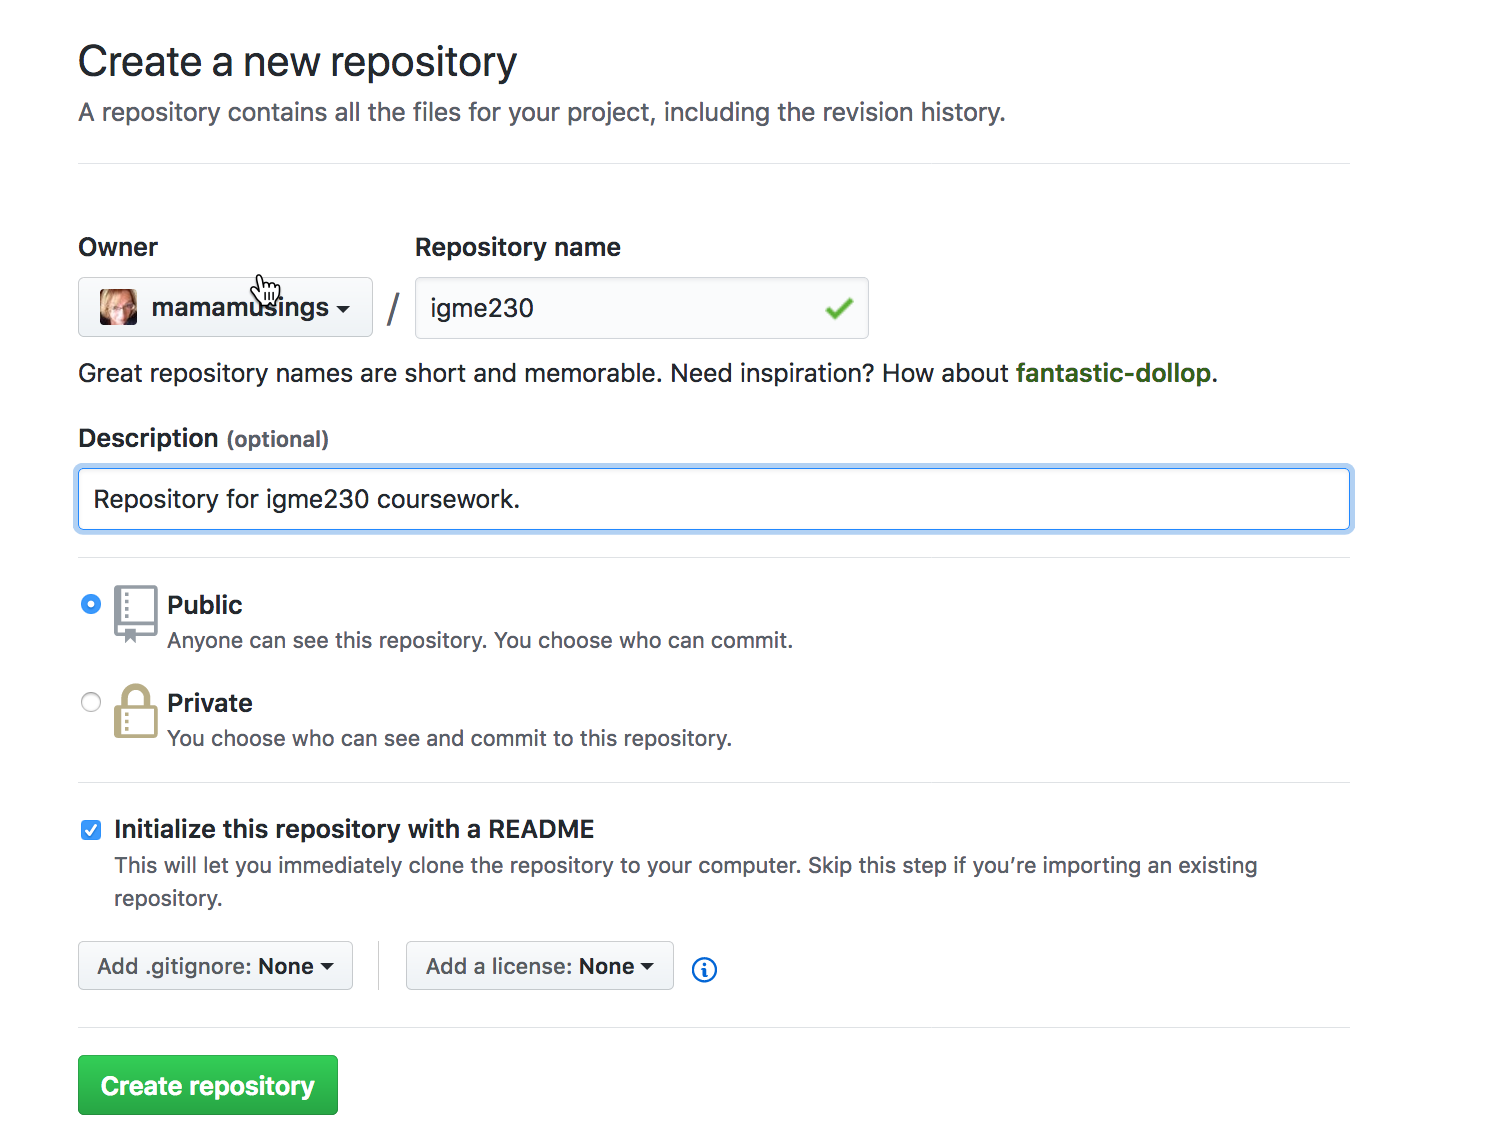
As you did in part 1, clone the repository to your computer, and use your editor to create a simple index.html file that includes your name and the class name (no need to format it, or even use CSS if you don't want to).
Sync the file to GitHub. Unlike your personal GitHub pages site, however, the page will not be immediately published on github.io. You'll need to explicitly set this repo up to publish with GitHub Pages.
On the GitHub site, go to your igme230 repo (http://github.com/username/igme230), select “Settings”, and scroll down to the GitHub Pages settings. Choose master branch as your source, and save. (Do not try to install a Theme; these do not use standard HTML, but instead use a templating language based on the Ruby programming language. If you want to explore using Jekyll Themes, you should create a separate repo for that. After you save your new settings, you should see this:
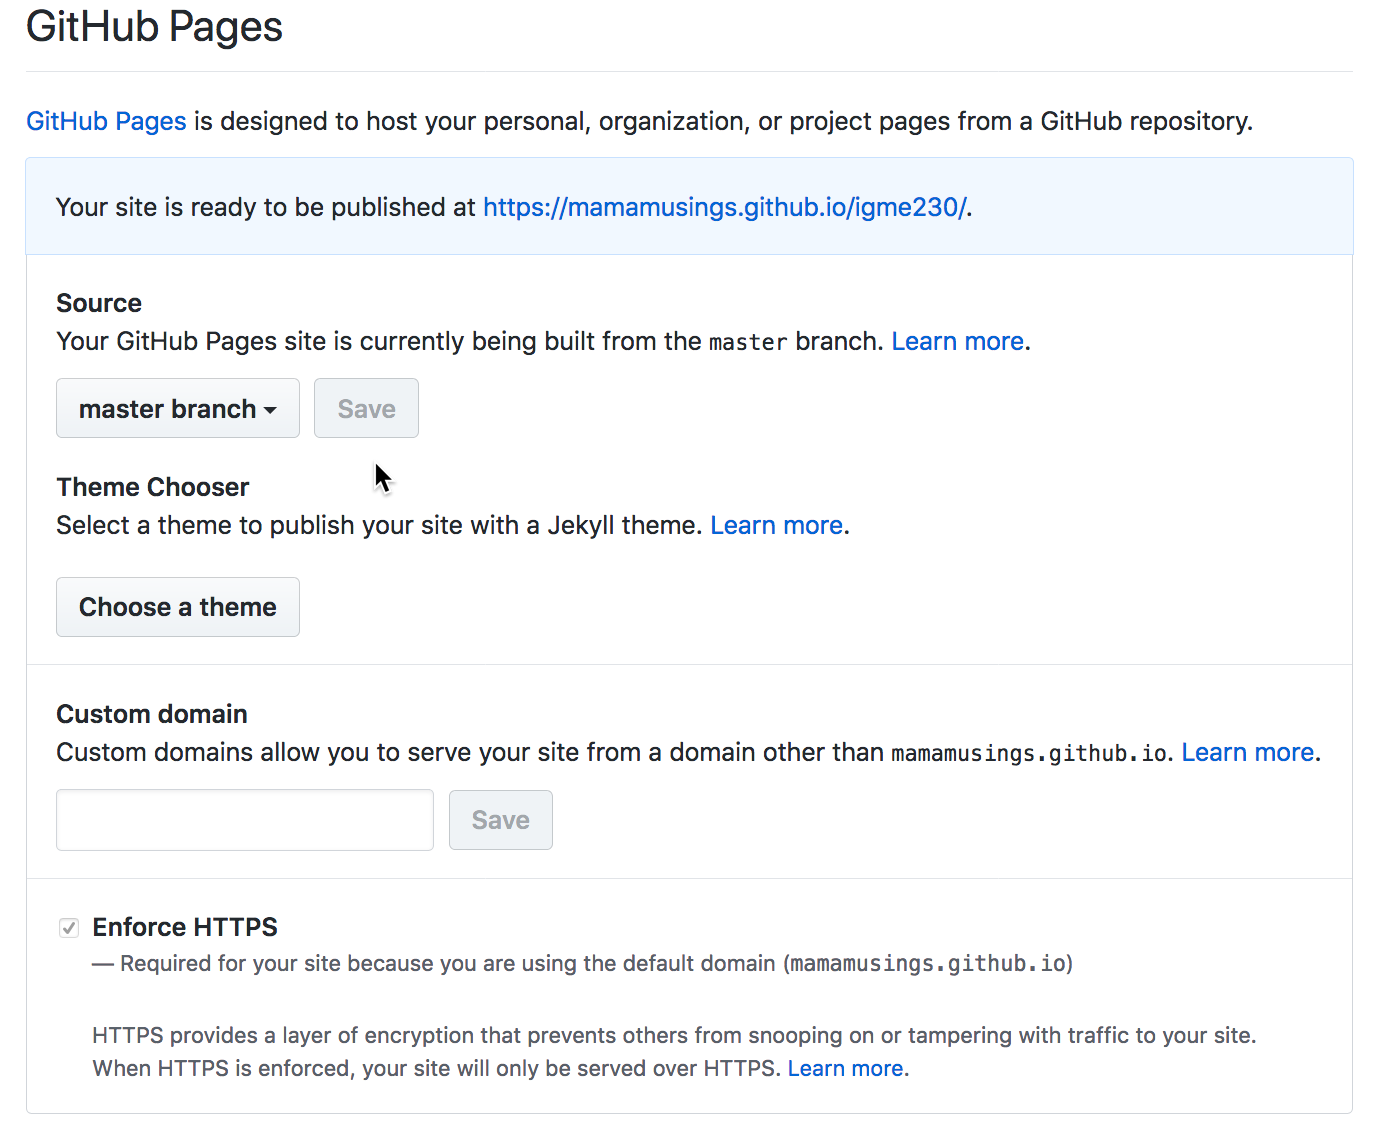
Your index.html page should now be visible at username.github.io/igme230; try clinking on the link provided in the settings page to test it.
All of the work you do for this class moving forward will be published to this repository, rather than to an RIT server. That allows me to see your revision history, and to make suggestions for revisions using pull requests.